How to Use Claude Code in the Terminal: Commands, Shortcuts, and Automation
The terminal is where Claude Code is most powerful. Running directly in your command line, it reads your project files, executes commands, and modifies your codebase through natural language conversation. This guide covers everything specific to the terminal experience, from launching and exiting sessions to pipeline automation and multi-agent workflows.
If you have not installed Claude Code yet, follow our installation guide first. For a broader overview of all Claude Code capabilities beyond the terminal, see the complete usage guide.
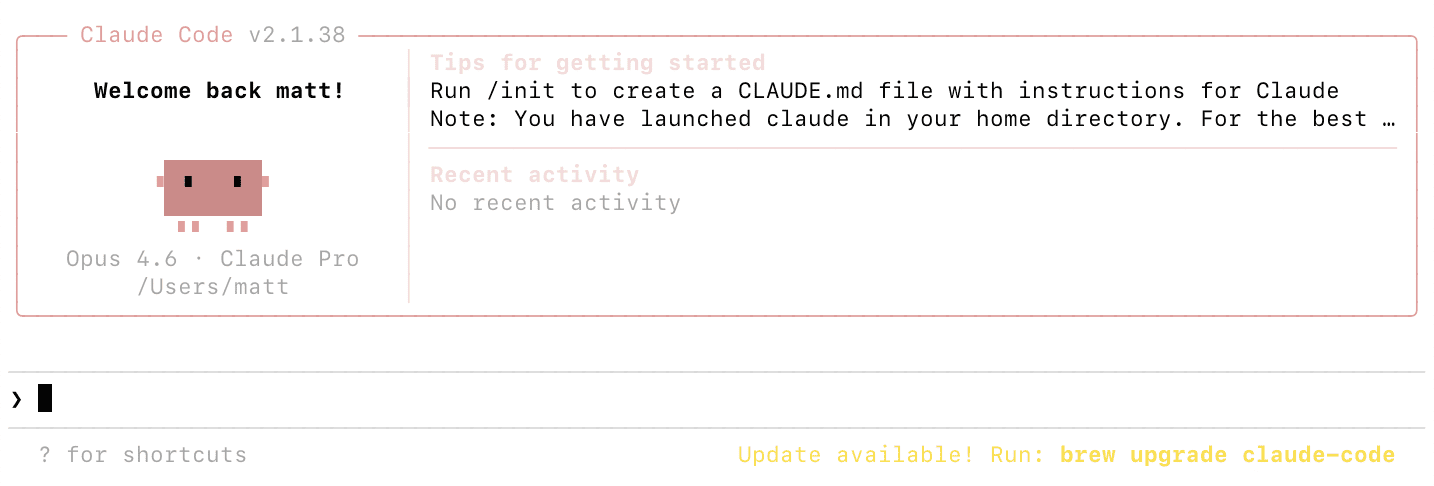
Navigate to your project directory and type “claude” to launch an interactive session. Claude Code reads your project structure, loads any CLAUDE.md configuration files, and connects to configured MCP servers. You will see a prompt indicator where you can start typing natural language requests.
If this is your first time, Claude Code opens a browser window for authentication. Sign in with your account and return to the terminal. Future launches skip this step. For detailed authentication options, see our setup and configuration guide.
To start with a specific prompt without entering interactive mode, use “claude -p” followed by your prompt in quotes. This is useful for quick one-off tasks and scripting. To resume your most recent conversation, use “claude -c” which picks up exactly where you left off.
How to Run Claude Code in the Terminal
Once your session is active, type requests in plain English at the prompt. Claude Code might read files to understand context, propose edits shown as diffs, or suggest terminal commands to execute. You approve or reject each action.
Reference specific files using @ followed by the path. “@package.json explain the dependencies” focuses Claude on that file. Reference directories like “@src/components/ what does each component do” to scope analysis. If you do not know the exact path, Claude Code can search for it.
Run shell commands directly by prefixing with an exclamation mark. “!git status” shows your git status, “!npm test” runs tests, “!ls -la” lists files. This executes the command directly rather than going through Claude’s conversational interface, which is faster and uses fewer tokens.
Essential Terminal Commands and Shortcuts
The /clear command resets conversation context. Use it when switching tasks so you are not paying for stale context. The /compact command summarizes your conversation to reduce context size while preserving important details. You can customize what to keep with “/compact Focus on the API changes we discussed.” The /cost command shows token usage and estimated cost.
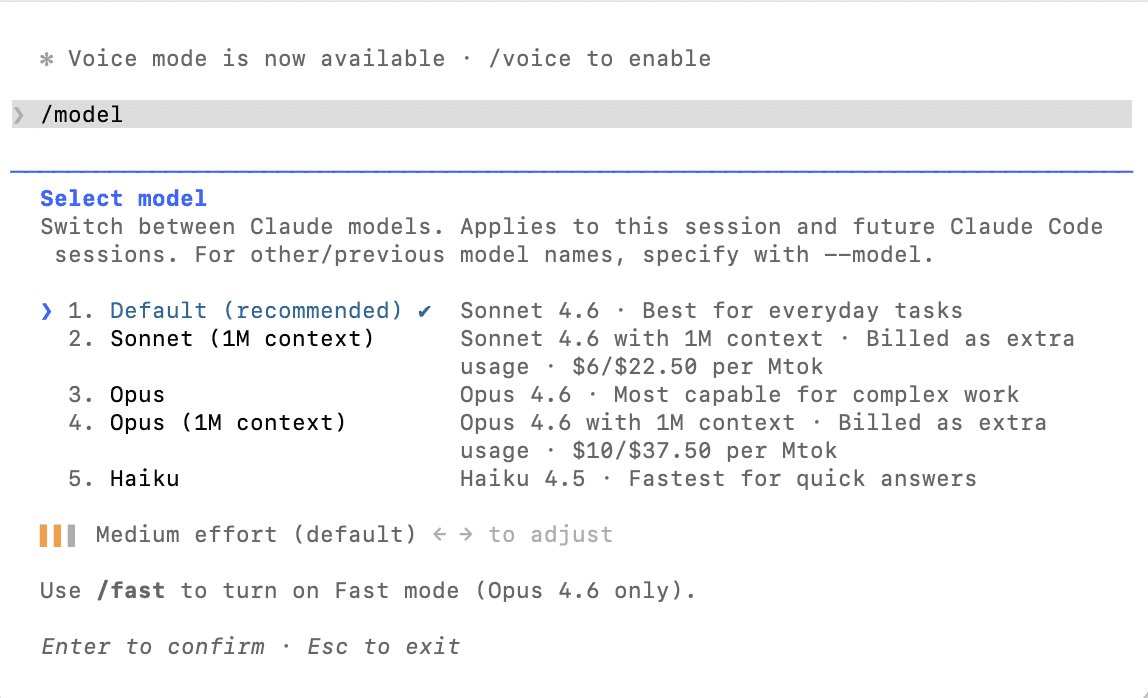
The /model command switches AI models during your session. “/model sonnet” for faster, cheaper responses. “/model opus” for the most capable reasoning. The /init command generates a CLAUDE.md for your project. The /help command lists everything available including custom commands.
Tab completion works for file paths and slash commands. Command history with the up arrow recalls previous prompts. Word deletion with Option-Delete and word navigation with Option-Arrow work on most systems.
How to Exit Claude Code
Type /exit at the prompt or press Ctrl+C to end a session. To pause and return later, use /exit and then “claude -c” next time to resume. Ctrl+D sends an end-of-input signal that also closes the session.
If Claude Code is in the middle of a long operation, press Ctrl+C once to cancel the current action without exiting. Press Ctrl+C again or type /exit to close entirely. Conversation history is preserved automatically for later resumption.
Running Claude Code for Automation and Pipelines
The non-interactive “claude -p” mode is designed for scripting and CI/CD. Pipe input to Claude Code and capture its output, composing it with other Unix tools. Practical examples include monitoring logs with “tail -f app.log | claude -p ‘alert me if there are anomalies'” and reviewing changed files with “git diff main –name-only | claude -p ‘review these files for security issues.'”
For CI/CD integration, Claude Code can review pull requests, generate changelogs, check code quality, or automate anything that benefits from AI understanding of your codebase. The pipeline mode outputs to stdout, making it easy to capture results in automation scripts.
Working With Multiple Sessions and Agents
Run multiple Claude Code sessions simultaneously in different terminal windows or tabs. Each maintains its own conversation context and works on different tasks. The /teleport command moves a session between surfaces, such as from your terminal to the Claude desktop app for visual diff review.
Claude Code supports spawning sub-agents for parallel work. A lead agent coordinates multiple instances, each with its own context window, working on different parts of a large task simultaneously. This is powerful for big refactoring jobs or feature implementations spanning many files.
Terminal Tips for Better Results
Keep your terminal window at least 100 columns wide. Claude Code renders diffs and code snippets that look best with this width, and narrow windows can cause rendering issues. Use a modern terminal emulator: Terminal or iTerm2 on macOS, Windows Terminal on Windows, or any modern terminal on Linux. The terminal should support ANSI colors and Unicode for proper diff and status rendering.
For extended sessions, monitor context with /cost and use /compact when it grows large. Long conversations accumulate tokens and become more expensive per message. Starting fresh with /clear when switching tasks is the most cost-effective habit. For more on managing costs, see our pricing guide.
To understand what happens behind the scenes when you interact with Claude Code, and how to extend it with external tools through MCP, read how Claude Code works.