How to Install OpenClaw with Docker (Step-by-Step)
What This Guide Covers
This guide walks through installing OpenClaw using Docker, the easiest and most reliable way to run it locally.
By the end of this guide you’ll have:
-
OpenClaw running in a Docker container
-
The gateway configured
-
Your first agent ready to connect to AI providers
This method works on:
-
macOS
-
Linux
-
Windows (WSL2)
-
Synology / NAS environments that support Docker
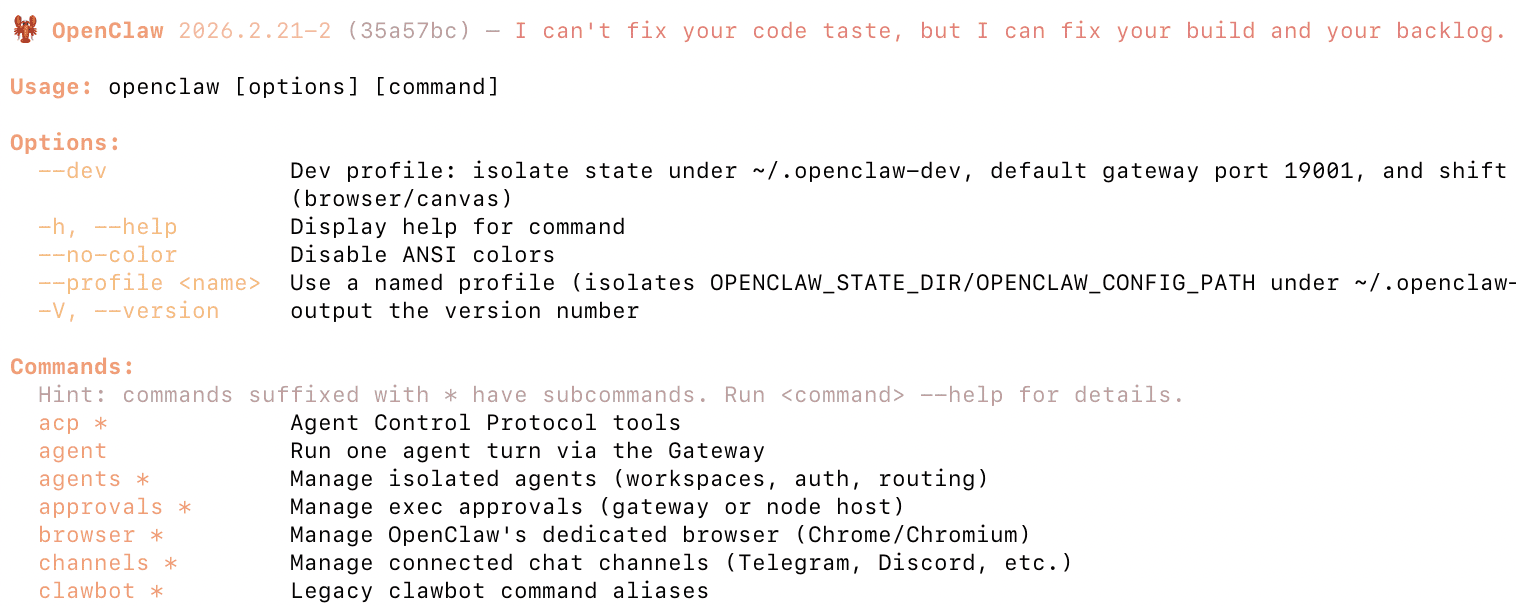
What OpenClaw Actually Installs
Before installing, it helps to understand what you’re running.
OpenClaw consists of three main pieces:
| Component | What it does |
|---|---|
| Gateway | The core service that runs the agent |
| Workspace | The environment where the agent performs tasks |
| AI Provider | The model powering the agent (OpenAI, Anthropic, etc.) |
Docker packages these pieces into a container so you don’t need to manually install dependencies.
Requirements
Before installing OpenClaw you need:
1. Docker installed
Check if Docker is installed:
If it isn’t installed yet:
-
macOS / Windows → Install Docker Desktop
-
Linux → Install Docker Engine
Minimum recommended system:
| Resource | Recommendation |
|---|---|
| RAM | 8GB |
| CPU | 4 cores |
| Disk | 10GB free |
OpenClaw can run on less, but builds may take longer.
Step 1 — Clone the OpenClaw Repository
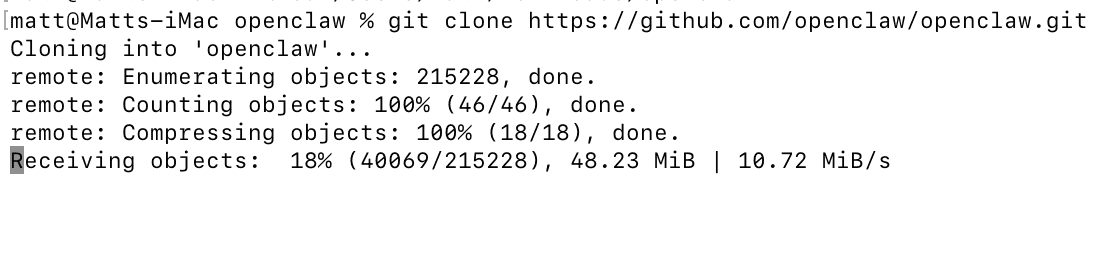
Download the project from GitHub.
cd openclaw
This repository includes:
-
Docker configuration
-
setup scripts
-
onboarding tools
-
environment configuration
Step 2 — Run the Docker Setup Script
The easiest way to install OpenClaw is using the included setup script.
This script automatically:
-
Builds or pulls the OpenClaw Docker image
-
Starts the Docker containers
-
Runs onboarding
-
Creates the
.envconfiguration file -
Generates your gateway token
You do not need to manually run Docker commands.
Optional: Use the Prebuilt Image (Faster)
If you want to avoid building locally, you can use the official container image.
This can save several minutes during installation.
Step 3 — Complete Onboarding
During setup you’ll be asked to configure your AI provider.
Common choices:
| Provider | Notes |
|---|---|
| OpenAI | Most widely used |
| Anthropic | Often better for reasoning |
| Local models | Possible but requires more setup |
You will typically enter an API key.
Example:
Step 4 — Start the Gateway
Once setup finishes, start OpenClaw.
This launches the gateway container in the background.
Step 5 — Verify OpenClaw Is Running
Check container status:
You should see something like:
If it is running, the installation succeeded.
You can also check logs:
Where OpenClaw Stores Data
By default OpenClaw stores data inside the container.
For persistent data, you can mount a workspace folder.
Example:
This allows agents to keep files between restarts.
Updating OpenClaw
To update OpenClaw later:
docker compose pull
docker compose up -d
Troubleshooting
Docker build fails
Try using the prebuilt image:
Container stops immediately
Check logs:
Most failures come from:
-
missing API keys
-
incorrect environment variables
-
port conflicts
Out of memory errors
OpenClaw builds can require several gigabytes of RAM.
Try increasing Docker memory limits or using the prebuilt image.
Optional Advanced Setup
Advanced users may want to enable:
-
sandbox mode
-
browser automation
-
persistent workspaces
-
multi-agent orchestration
These require additional Docker configuration.
Final Thoughts
Installing OpenClaw with Docker removes most of the complexity of dependency management. Once running, you can begin experimenting with autonomous agents, automation workflows, and AI-driven tasks.
Download Your FREE
Dev Stack Starter Guide

Build, automate, and launch faster—see the automation stack developers and agencies are switching to.
- ✅ API Templates & Code Snippets
- ✅ Done-for-You Automation Workflows
- ✅ Step-by-Step Funnel & CRM Guide
- ✅ Free for Developers, Freelancers, & SaaS Builders