How to Install OpenClaw on Mac (macOS Setup Guide)
If you’re looking to run a self-hosted AI assistant on your Mac, OpenClaw (formerly Clawdbot / Moltbot) is one of the most capable options available. macOS is arguably the best platform for OpenClaw — the project was largely built around the Apple ecosystem, and it shows with native features like a menu bar companion app, Voice Wake for hands-free interaction, and iMessage integration that’s exclusive to macOS.
This guide walks you through the complete installation process on macOS, from prerequisites to a fully running AI assistant. If you’re not familiar with OpenClaw yet, start with our overview of what OpenClaw is and how it works.
Why macOS Is Ideal for OpenClaw
While OpenClaw supports macOS, Windows (via WSL2), and Linux, macOS provides the smoothest experience for several reasons. OpenClaw runs natively without any virtualization layer (unlike the WSL2 requirement on Windows). The companion menu bar app gives you quick access to settings, health status, and controls. Voice Wake lets you activate the assistant by saying “Hey Claw” on macOS, iOS, and Android. And iMessage integration — only available on macOS — lets you interact with OpenClaw through Apple’s messaging platform.
Many users run OpenClaw on a Mac Mini as a dedicated always-on AI server, which is a popular and well-documented setup in the community.
Prerequisites
macOS Ventura (13) or newer — Sonoma and Sequoia are ideal. Older versions may work but aren’t officially recommended.
Homebrew — The macOS package manager. If you don’t have it, we’ll install it in Step 1.
Node.js 22 or newer — Required for OpenClaw’s runtime. We’ll install this via Homebrew.
An API key from an AI model provider — Anthropic (Claude), OpenAI (GPT-4), Google (Gemini), or a local model via Ollama. Have your key ready before starting the onboarding wizard.
Basic Terminal familiarity — You’ll be running commands in the macOS Terminal app. Open it with Command + Space, then search for “Terminal.”
Step 1: Install Homebrew (If Needed)
If you already have Homebrew installed, skip to Step 2. Otherwise, open Terminal and run:
/bin/bash -c "$(curl -fsSL https://raw.githubusercontent.com/Homebrew/install/HEAD/install.sh)"
Follow the prompts. Once complete, verify with:
brew --version
Step 2: Install Node.js 22
OpenClaw requires Node.js version 22 or higher. Install it with Homebrew:
brew install node
Verify the version:
node --version
You should see v22.x.x or higher. If you have an older version installed, you can upgrade with brew upgrade node or use nvm (Node Version Manager) to manage multiple versions.
Step 3: Install OpenClaw
You have two options for installation. The easiest is the one-liner install script:
curl -fsSL https://openclaw.ai/install.sh | bash
This script detects your operating system, installs Node.js if needed, and sets up the OpenClaw CLI. Alternatively, if you prefer manual control, install via npm:
npm install -g openclaw@latest
If you use pnpm instead of npm:
pnpm add -g openclaw@latest
pnpm approve-builds -g
The approve-builds step is needed because pnpm requires explicit approval for packages with build scripts (like openclaw, node-llama-cpp, and sharp).
Fixing the Sharp Installation Error
If you have libvips installed globally via Homebrew and the sharp image library fails during installation, force prebuilt binaries with:
SHARP_IGNORE_GLOBAL_LIBVIPS=1 npm install -g openclaw@latest
If you see a “please add node-gyp to your dependencies” error, install Xcode Command Line Tools first: xcode-select --install
Step 4: Run the Onboarding Wizard
Start the interactive setup:
openclaw onboard --install-daemon
The --install-daemon flag installs OpenClaw as a launchd service, so the gateway keeps running in the background even after you close Terminal or restart your Mac.
The wizard guides you through:
Model provider and API key — Choose your AI provider and paste your API key. If you use Anthropic, you can generate a setup token through the OAuth flow. Claude Opus 4.5 is the most capable option for complex tasks, while Haiku 4.5 is a cost-effective choice for everyday use.
Gateway settings — Choose “local” for personal use. The gateway binds to localhost by default.
Messaging channels — Select which platform(s) you want to use. Telegram is the quickest to set up (create a bot via @BotFather), WhatsApp connects via QR code, and iMessage is available exclusively on macOS. You can always add more channels later.
Skills setup — You can skip this for now and explore skills once you’re comfortable with the basics.
Step 5: Verify Everything Works
After onboarding completes, run these checks:
openclaw doctor
openclaw status
Both should return healthy results. To open the web-based Control UI:
openclaw dashboard
This opens your browser to the local dashboard (typically at http://127.0.0.1:18789/). If it asks for authentication, paste the gateway token from your config: openclaw config get gateway.token
The Control UI lets you chat directly with your AI assistant without setting up any external channels — it’s great for quick testing.
Step 6: Set Up the Companion Menu Bar App
OpenClaw offers a native macOS menu bar app that gives you quick access to gateway health, settings, and controls. The app is available from the OpenClaw GitHub releases page. Once installed, it sits in your menu bar and communicates with the gateway running on your Mac.
The menu bar app requires the gateway to be running. If you installed the daemon during onboarding, it should already be active. If not, you can start the gateway manually with openclaw gateway in a terminal window (and leave that window open).
Optional: Enable Voice Wake
One of the standout macOS features is Voice Wake — hands-free activation by saying “Hey Claw.” This uses your Mac’s microphone and requires granting microphone permissions to the OpenClaw companion app.
To enable it, go to System Settings, then Privacy & Security, then Microphone, and make sure the OpenClaw app has access. Voice Wake also supports push-to-talk as an overlay, which can be useful if you don’t want always-on listening.
Optional: Set Up iMessage Integration
iMessage is a macOS-exclusive channel for OpenClaw. It lets you interact with your AI assistant through Apple’s Messages app, which is especially convenient if you’re already in the Apple ecosystem.
During onboarding (or afterward), run:
openclaw channels login imessage
You’ll need to grant OpenClaw access to the Messages app in System Settings under Privacy & Security. After a macOS update, you may need to run this command again to reconnect.
Running as a Background Service
If you used the --install-daemon flag during onboarding, the gateway is already running as a launchd service. It will start automatically at login and persist across terminal sessions and restarts.
To check the service status:
openclaw status
To restart the service:
openclaw gateway restart
If you prefer to run the gateway only when you need it (not as a persistent service), skip the daemon and just run openclaw gateway in a terminal whenever you want it active.
Why the Mac Mini Has Become the Go-To OpenClaw Machine
Click Here For Mac Minis
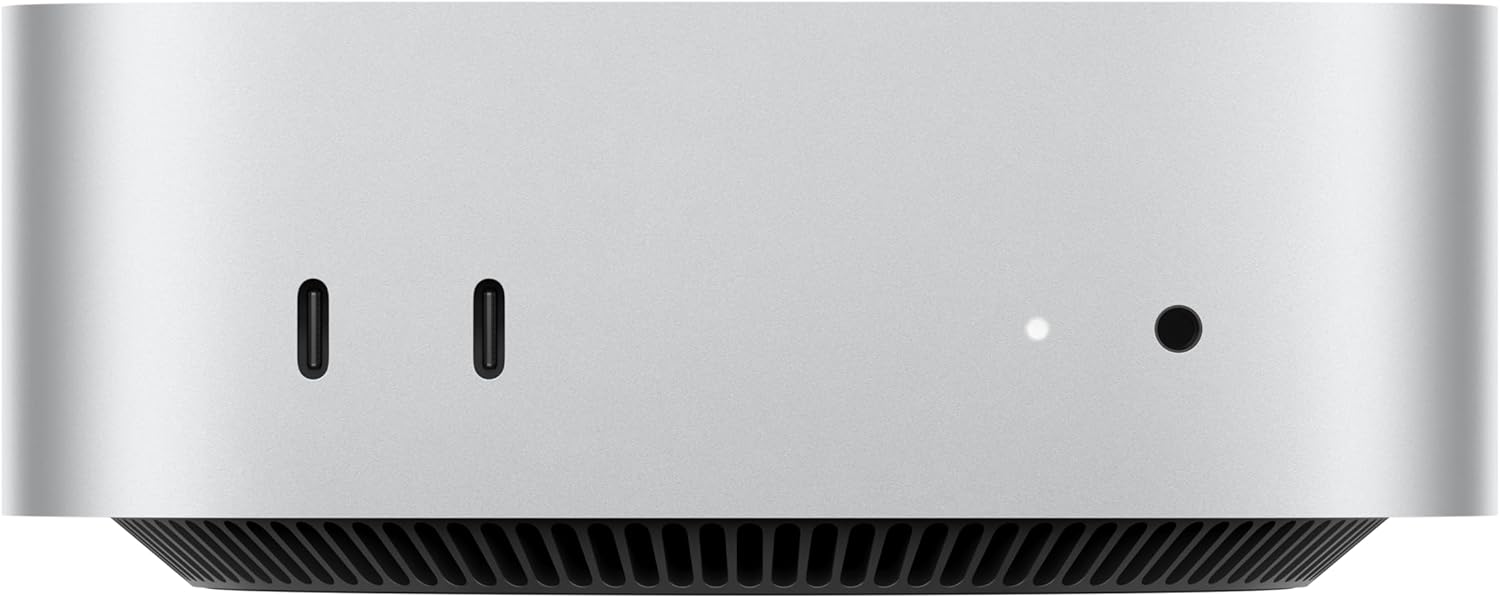
If you spend any time in the OpenClaw community, you’ll notice that the Mac Mini — especially the M4 and M4 Pro models released in late 2024 — has become the default hardware recommendation. There are several reasons it hit a sweet spot for this use case.
Affordable entry point. The base M4 Mac Mini starts at $499, which is remarkably low for a machine capable of running an always-on AI agent with strong performance. Compared to building a dedicated Linux box or buying a mini PC, it’s competitive on price — and you get macOS-exclusive OpenClaw features (iMessage, Voice Wake, menu bar app) that aren’t available on any other platform.
Silent, tiny, and energy efficient. The M4 Mac Mini is roughly 5 inches square. It draws very little power at idle, produces almost no heat, and is completely fanless under light workloads. That makes it ideal for sitting on a shelf or tucked behind a monitor running 24/7 as a headless AI server — no fan noise, no noticeable bump on your electricity bill.
Apple Silicon performance matters for OpenClaw. OpenClaw runs on Node.js, which is single-threaded for most operations. The M-series chips have excellent single-threaded performance, which translates to a snappy, responsive agent. The unified memory architecture is also a bonus if you want to run local AI models alongside OpenClaw via Ollama — the 16GB or 24GB unified memory options handle smaller LLMs surprisingly well, enabling fully private inference without cloud API costs.
Built for headless operation. Unlike a MacBook, the Mac Mini doesn’t need a display, keyboard, or mouse connected to function. You can enable “Wake for network access” in System Settings so it stays reachable when the display is off, set up SSH or Tailscale for remote management, and it just runs indefinitely. Many users report months of uptime with zero maintenance.
Mac Mini Setup Tips for OpenClaw
If you’re using a Mac Mini as a dedicated OpenClaw server, here are a few extra configuration steps beyond the standard installation above:
Keep the OS updated first. Before installing anything, go to System Settings, then General, then Software Update and make sure macOS is fully current. Get reboots out of the way before your agent is running.
Enable Wake for network access. Go to System Settings, then Battery (or Energy Saver), then Options, and turn on “Wake for network access.” This ensures the Mac Mini stays reachable over SSH and Tailscale even when the display is off or the machine enters low-power mode.
Consider a dedicated user account. Creating a separate macOS user specifically for OpenClaw provides isolation between your AI agent and any personal data on the machine. This is especially worthwhile if the Mac Mini isn’t exclusively dedicated to OpenClaw.
Use Tailscale for remote access. Rather than exposing the gateway port directly to your network, install Tailscale on the Mac Mini and your other devices. This gives you a private, encrypted connection to manage OpenClaw from your phone or laptop anywhere in the world — without opening any ports on your router.
Disable SSH password authentication. If you have SSH enabled, switch to key-based authentication only. One less attack vector to worry about on a machine that’s always connected to the internet.
Store API keys securely. Some power users store their API keys in a password manager like Bitwarden and have OpenClaw access them through the Bitwarden CLI, rather than leaving credentials in plaintext config files. This way, if you need to rotate a key, you update it once in your vault.
For a deeper look at security best practices for any setup, see our OpenClaw security guide.
Common Troubleshooting
“command not found: openclaw” — Your terminal session doesn’t see the installed CLI. Close Terminal and open a new window, or run source ~/.zshrc. If it still fails, the npm global install may need a PATH fix.
Menu bar app shows “disconnected” — The gateway isn’t running. Start it with openclaw gateway in a terminal or ensure the launchd service is active.
Microphone permissions not working — Go to System Settings, then Privacy & Security, then Microphone, and toggle the permission for the OpenClaw app. You may need to restart the app after granting permission.
iMessage not sending messages — Re-run openclaw channels login imessage. This is commonly needed after macOS updates.
Sharp/node-gyp errors during install — Install Xcode Command Line Tools (xcode-select --install) or use the SHARP_IGNORE_GLOBAL_LIBVIPS=1 environment variable as described above.
What’s Next?
With OpenClaw running on your Mac, you’re ready to start automating. Explore our guide to 10 practical things you can do with OpenClaw for ideas on what to tackle first. If you’d rather host your assistant in the cloud instead, check out our DigitalOcean deployment guide.
Related Guides on Code Boost
What Is OpenClaw (Formerly Clawdbot)? The Self-Hosted AI Assistant Explained
How to Install OpenClaw on Windows (Step-by-Step WSL2 Guide)
How to Install OpenClaw on DigitalOcean (Cloud VPS Guide)