How to Create a DigitalOcean Droplet (Step-by-Step Guide for Beginners)
I used to think cloud servers were only for developers or IT pros. But last week, I launched my own DigitalOcean Droplet—and it took less than a minute. I have limited experience with Linux servers beyond basic hosting—and yet here I am, running my own virtual server with full root access.
In this post, I’ll walk you through exactly how I did it, step by step. Whether you’re launching a website, hosting a web app, or just want to learn something new, you can do this too.
What Is a DigitalOcean Droplet?
Think of a Droplet as your own personal computer in the cloud. It’s a virtual private server (VPS) that you can use for nearly anything:
- Hosting websites and blogs
- Running apps like Node.js, Flask, or Django
- Learning Linux commands hands-on
- Setting up game servers or dev environments
Unlike shared hosting, you get total control, higher speed, and better scalability.
Why I Chose DigitalOcean
I compared several VPS providers, but DigitalOcean stood out:
- Fast setup: You can literally launch a Droplet in under 60 seconds.
- Affordable: Plans start at just $5/month. Click here to try our DigitalOcean pricing calculator.
- Developer-friendly: Clean UI and helpful documentation.
- Free trial: They give you $100 in credits to get started.
Plus, the experience felt tailored for beginners. I didn’t feel lost at any point.
Step-by-Step: How I Launched a Droplet in 60 Seconds
Here’s the exact process I followed:
1. Sign up for DigitalOcean
Visit digitalocean.com and create an account. You’ll get a $100 credit for 60 days if you’re new.
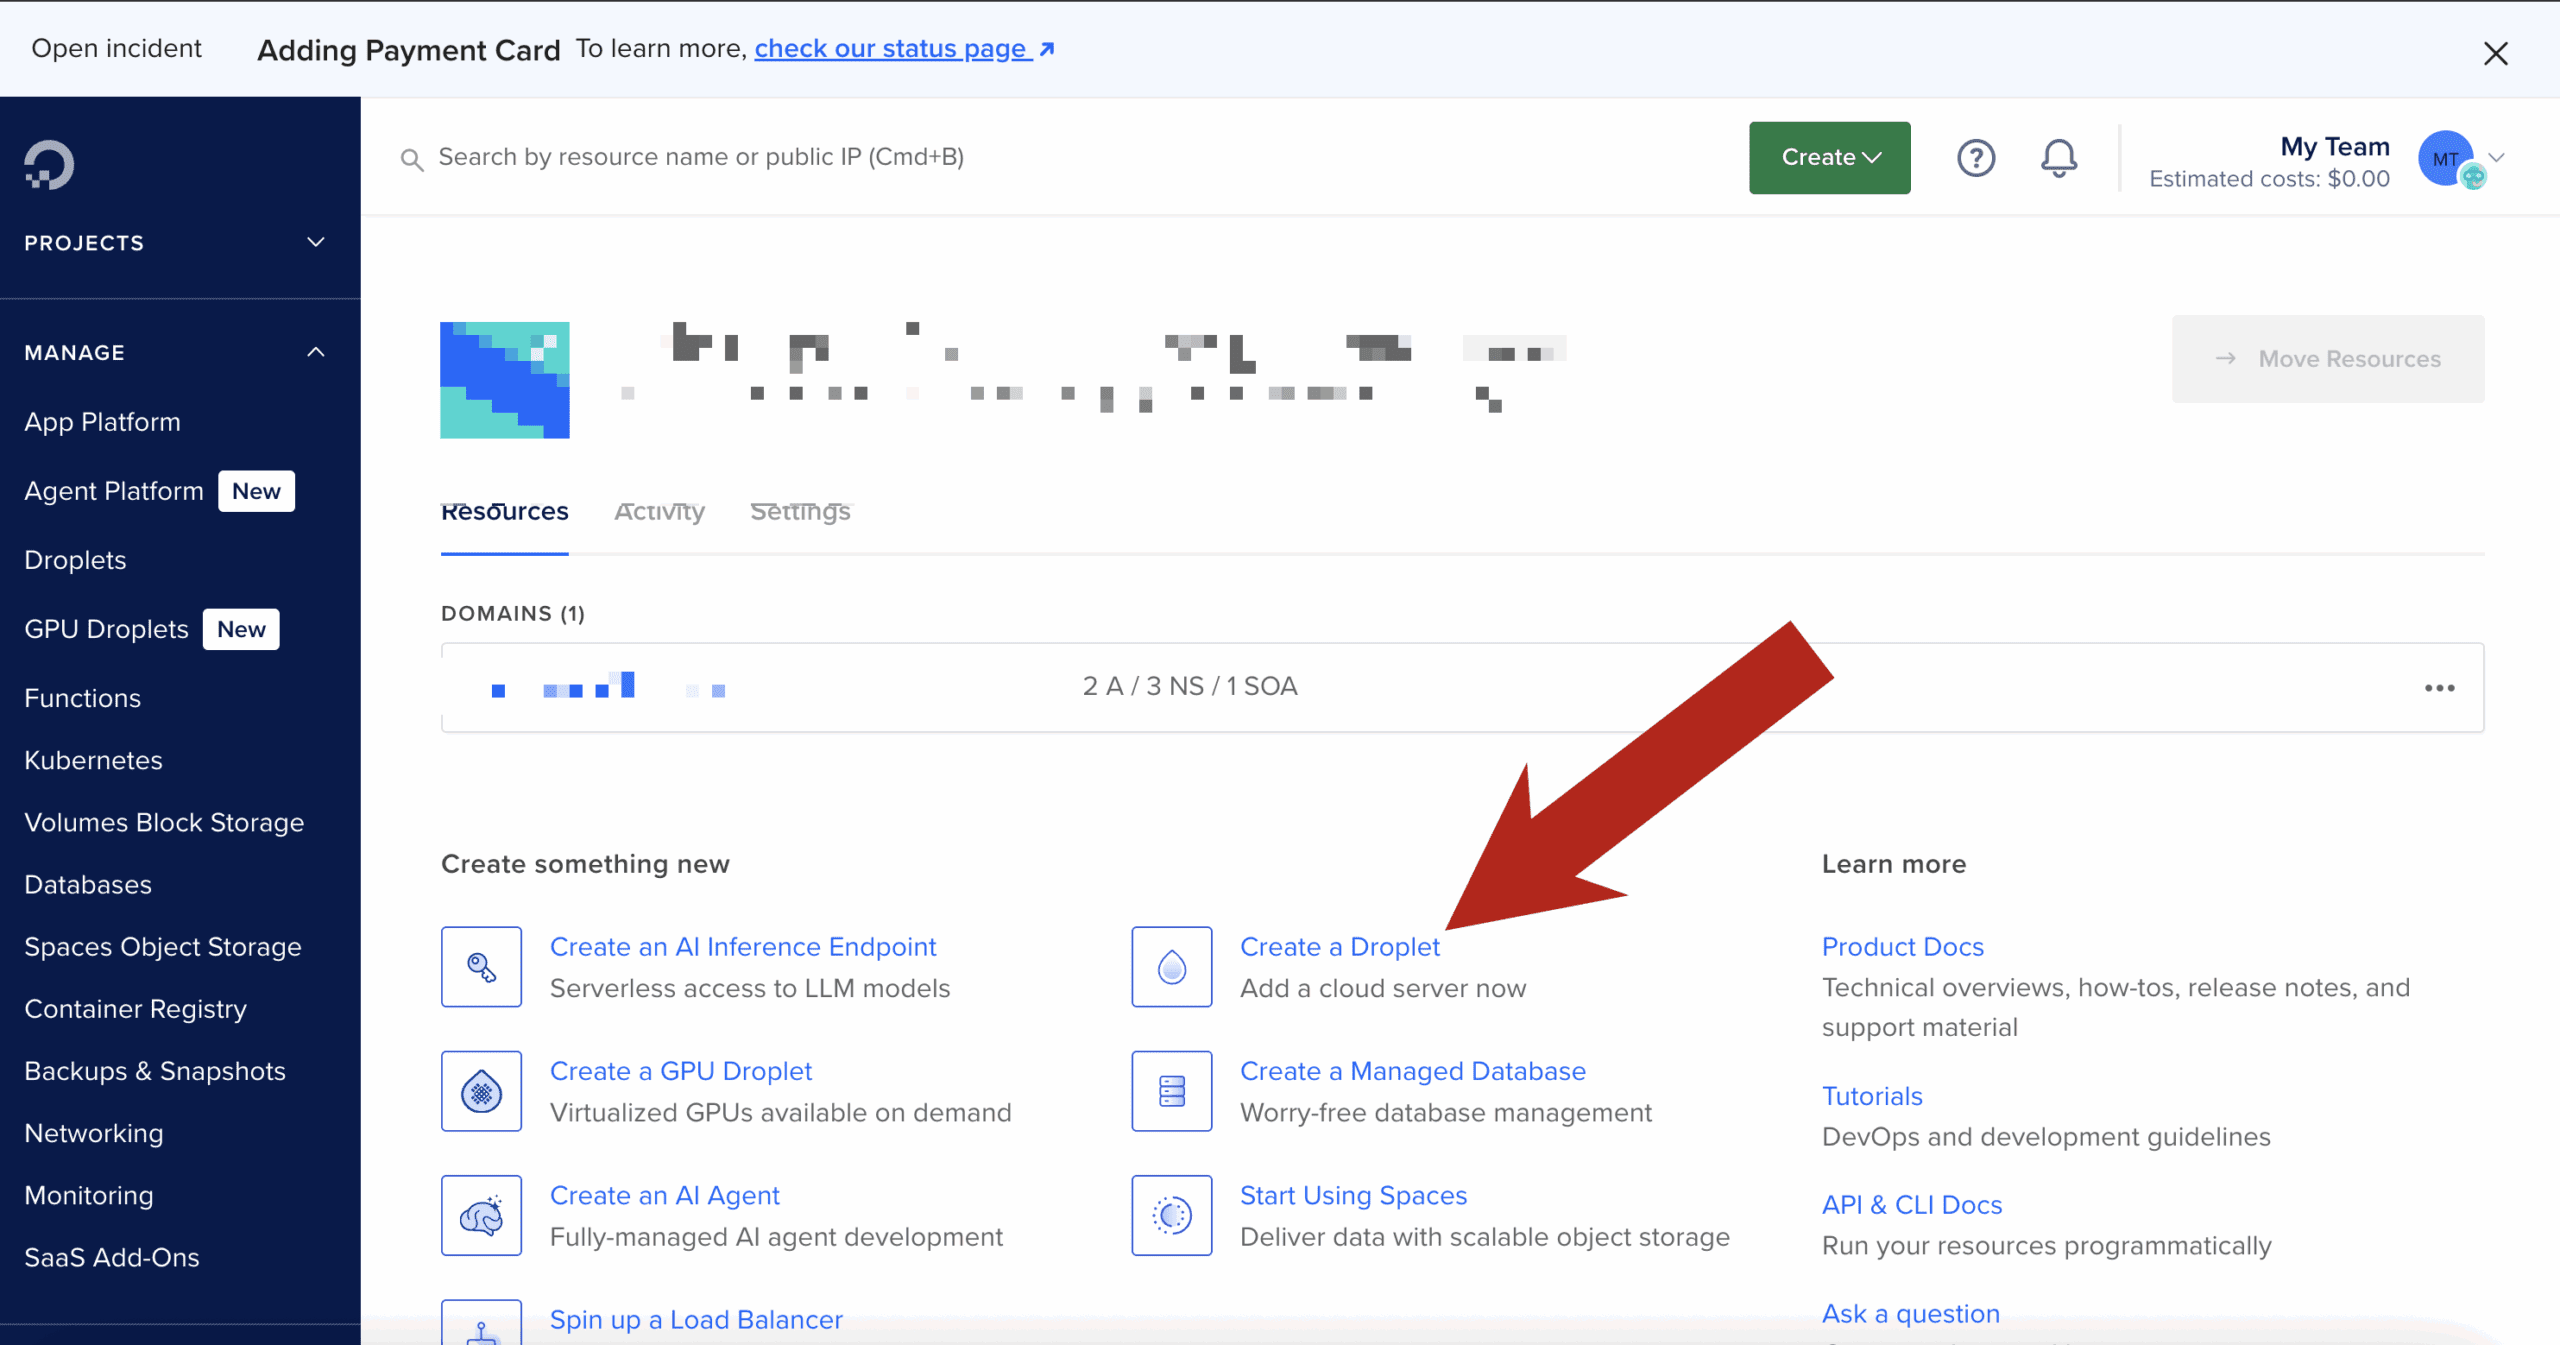
2. Click “Create Droplet”
After logging in, click the “Create” button in the upper-right and select “Droplet.”
3. Choose an Image
I chose Ubuntu 22.04 LTS — it’s stable, well-supported, and beginner-friendly.
4. Select a Plan
I picked the Basic Shared CPU plan with 1GB RAM. It only costs $5/month and is perfect for learning and small projects.
5. Choose a Data Center
I selected a region close to me (New York) to ensure fast response times.
6. Authentication
You can use an SSH key or a root password. I used an SSH key—DigitalOcean helps you generate one during setup if needed.
7. Name Your Droplet and Launch
I gave my Droplet a simple name: first-droplet. Then I hit “Create Droplet.”
That’s it. Within 60 seconds, my server was live and ready to go.
What Happened Next
DigitalOcean immediately gave me an IP address. I opened my terminal and logged in:
ssh root@your_droplet_ipBoom. I was inside my server. I felt like a real developer—even though I was just following instructions.
I had full root access and could do anything: install Nginx, set up a database, host files—you name it.
What You Can Do With Your Droplet
Here are a few things you can try right after creating your server:
- Install a Web Server: Nginx or Apache
- Host a Website or Blog: Use WordPress or a static site generator
- Set Up a Domain Name: Point your domain to your droplet’s IP
- Install SSL: Use Let’s Encrypt for a free HTTPS certificate
Need help with these steps? DigitalOcean’s tutorials are excellent.
Bonus Tips for Beginners
- Use UFW firewall:
ufw allow OpenSSH ufw enable - Take snapshots: Back up your Droplet before making big changes.
- Use Cloudflare: For DNS, CDN, and DDoS protection.
- Create a non-root user: For safer long-term server usage.
Final Thoughts
If I can do it in 60 seconds with no prior server experience, you absolutely can too.
Whether you’re launching your first website or building the foundation for your next big project, a DigitalOcean Droplet gives you control, flexibility, and speed.
👉 Learn more here and get some low cost credits to try it out.
- How to Create a DigitalOcean Droplet (Step-by-Step Guide for Beginners)
- How to Build a Fast, Free API Proxy That Just Works (Using Cloudflare Workers)
- From CORS Errors to Superpowers: Why API Proxies Are a Must for Modern Coders
- Is Your Open Source Project at Risk? How OpenSSF’s Scorecard Exposes Hidden Security Flaws
- JavaScript Malware in 2025 – How to Spot, Prevent, and Survive Modern Web Exploits
Download Your FREE
Dev Stack Starter Guide

Build, automate, and launch faster—see the automation stack developers and agencies are switching to.
- ✅ API Templates & Code Snippets
- ✅ Done-for-You Automation Workflows
- ✅ Step-by-Step Funnel & CRM Guide
- ✅ Free for Developers, Freelancers, & SaaS Builders